

In this tutorial, we are going to talk about the Notice Block in the AffiliateBooster Plugin. The Notice Block is a powerful block that helps bring attention to a specific piece of text. Since readers usually skim web content, having the notice block makes it easy to highlight something important about the product. You can then combine the Notice Block with other AffiliateBooster Blocks and get super-high conversions.
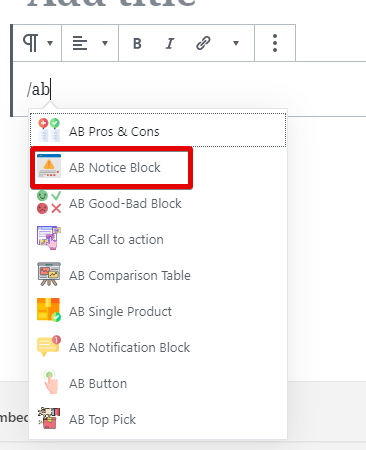
To add the Notice Block to a post or a page, use the block menu or type “/ab” and select the Notice Block from the block menu. We will be using the Notice Block on a new post, but you can use it on an existing post or page as well.
Once you add the block, this is how it will look like.
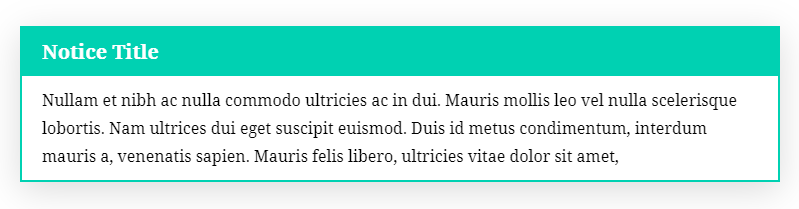
Compared to some of the other blocks in AB, the Notice Block is quite simple looking. Let us explore its settings from the right side block menu.
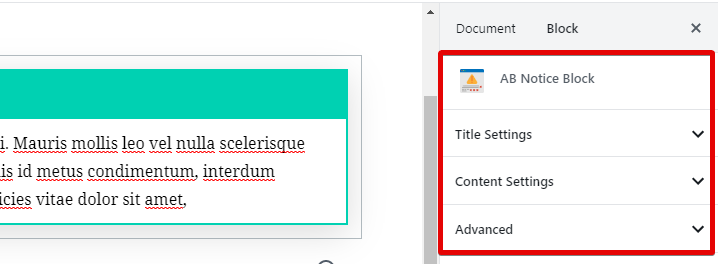
There are only 3 settings, and we will explore them one by one.
Title Settings
The Title Settings has a few options; here they are.
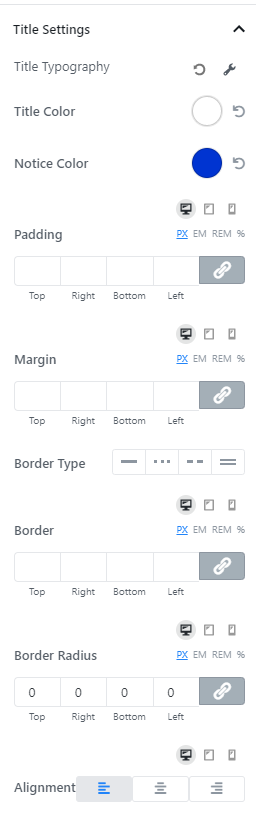
What each of these settings achieves is quite obvious, but we will describe them quickly.
- Title Typography: Configures the typography of the Title
- Title Color: Lets you choose the font color of the title
- Notice Color: Let you change the color of the entire notice
- Padding, Margin, Border, etc.: These settings affect the Title area, and they can be configured differently for different devices
Content Settings
The Content Settings are similar to the Title Settings with a few differences. Here is the complete list of options.
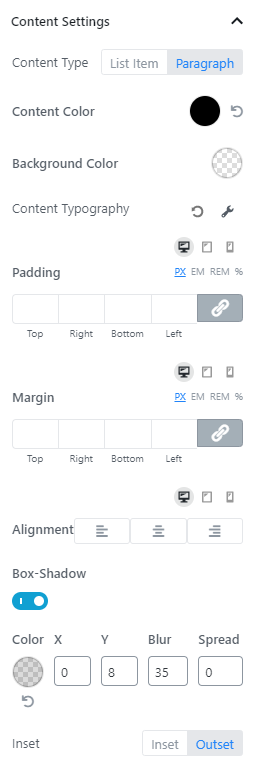
The first thing you’ll notice is that you can set the Content-Type to a List or a Paragraph. When you set the Content-Type of a List, you will see some additional options.
You will be able to select the icon preceding the list, the color of the icon, and the color of the text using these options. You can also set a background color for the text area using the background color option.
The next settings are for the Content Typography and the various border options. These options give you complete control over how your notice looks.
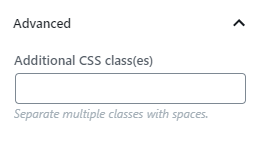
Advanced
This setting lets you add names of custom CSS classes that you would like to add to the Notice Block. You will rarely need to use this option, but we have kept it in anyways.
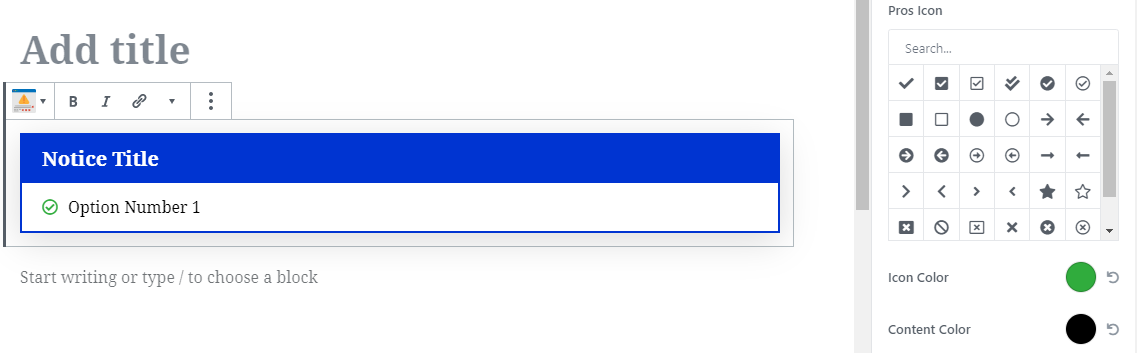
Working with the Notice Block
You understand all the settings. Now let us show you how to actually use the Notice Block after you’ve decided on the look. The process is pretty simple.
To add the title, click the title area, and type a new title.
To add list items, press Enter after the last entry and keep typing. You can delete an entry by clicking the “x” at the end of the line.

For paragraphs, the process is the same as adding text to a paragraph block. Just click and start typing.